ELISA Troubleshooting Guide: How to Fix High Background, Weak Signal, Poor Standard Curves and High CV
A practical, step-by-step ELISA troubleshooting guide for research laboratories. Learn how to identify and correct high background, weak or absent signal, poor standard curves, high replicate CV, edge effects, plate drift, matrix interference and hook effects. Includes a troubleshooting decision table, a five-minute diagnostic workflow, a run-documentation checklist and frequently asked questions.
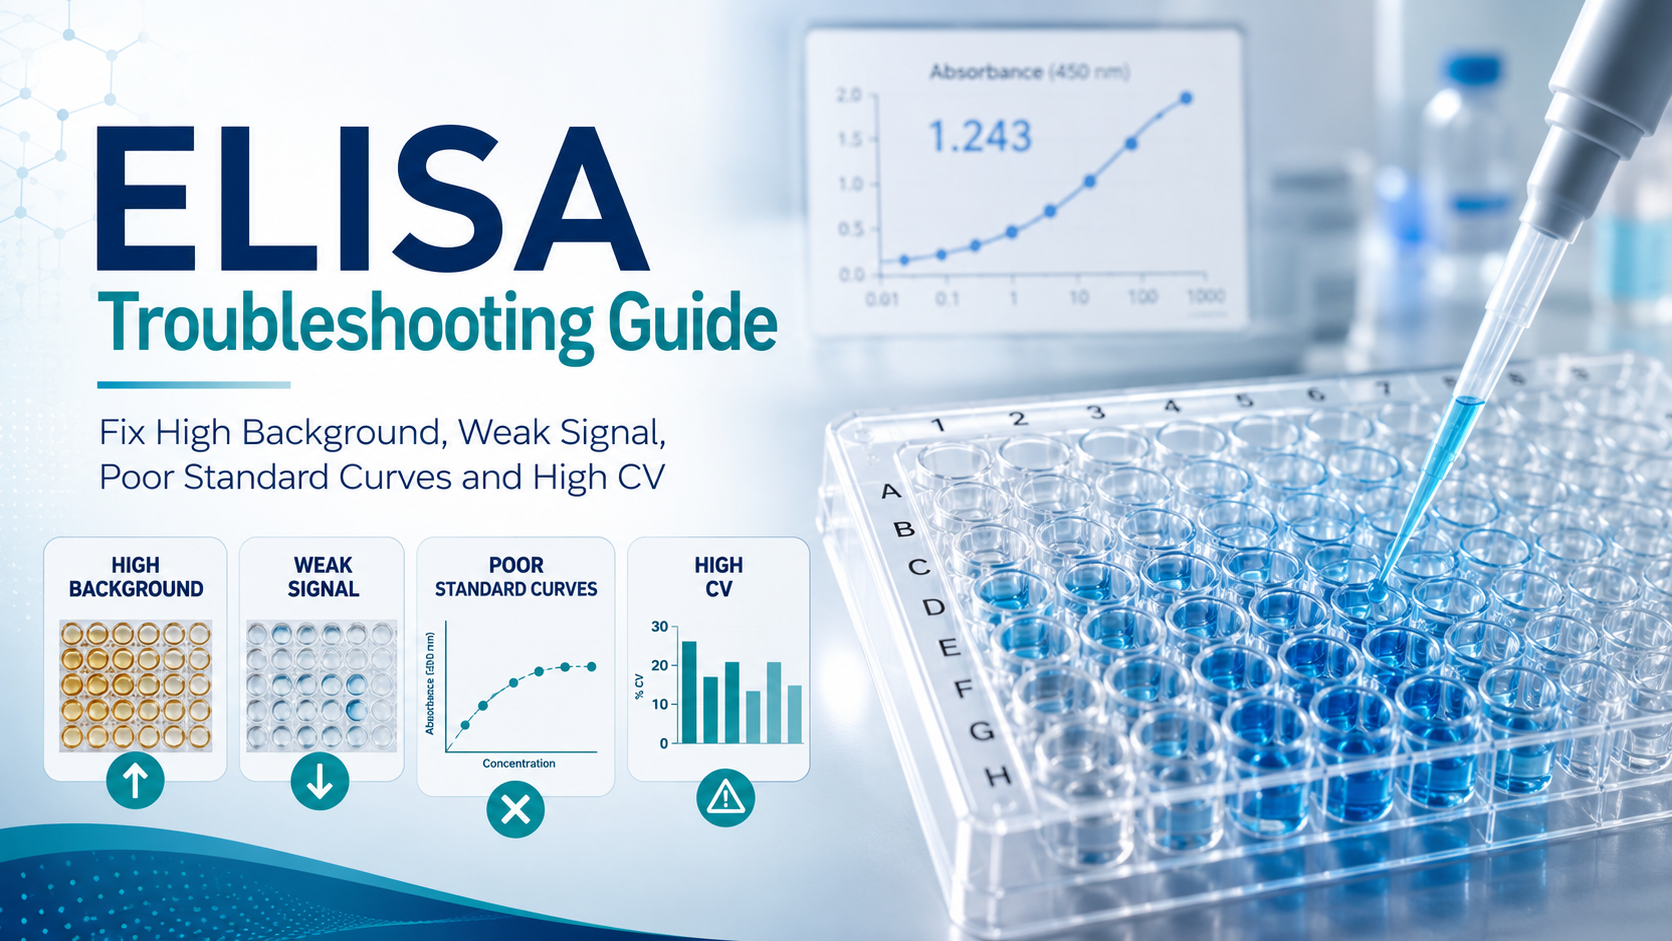
Quick answer: How do you troubleshoot an ELISA?
To troubleshoot an ELISA, examine the results in this order:
Check the blank wells.
Confirm that positive and negative controls passed.
Inspect the standard curve.
Compare duplicate or triplicate wells.
Look for plate-position patterns such as edge effects.
Verify reagent preparation, washing, incubation times and reader settings.
Dilute and retest samples when matrix interference or analyte excess is suspected.
Do not begin by changing several assay conditions at once. Identify the pattern, test one likely cause and document the result.
What is ELISA troubleshooting?
ELISA troubleshooting is the systematic process of identifying why an enzyme-linked immunosorbent assay produced unreliable, unexpected or unusable results.
Common ELISA problems include:
High background across the plate
Weak or absent signal
Excessively strong signal
A flat, irregular or compressed standard curve
High variation between replicate wells
Edge effects
Plate drift
Low spike recovery
Poor dilution linearity
Samples above or below the assay range
Unexpected positive results
Unexpectedly low results in highly concentrated samples
The goal is not simply to obtain stronger colour development. A successful ELISA must produce a valid standard curve, acceptable controls, consistent replicates and sample values within the assay’s validated working range.
For a general introduction to the assay principle, the University of Arizona ELISA learning activity provides an accessible explanation of antigen-antibody binding and colour-based detection.
First identify the ELISA format
Troubleshooting depends on the assay format.
Sandwich ELISA
In a typical sandwich ELISA, the target analyte is captured between two antibodies. Within the assay’s working range, increasing analyte concentration normally produces increasing signal.
A weak signal may therefore indicate:
Low analyte concentration
Poor antibody binding
Inactive detection reagent
Excessive washing
Incorrect reagent preparation
However, extremely high analyte concentrations can occasionally produce a falsely low result through a high-dose hook effect.
Competitive ELISA
In a competitive ELISA, sample analyte competes with a labelled or immobilized assay component. Increasing analyte concentration often produces decreasing signal.
A low optical-density result may therefore represent a high analyte concentration rather than assay failure.
The NIH’s Immunoassay Methods chapter explains that sandwich-binding assays normally produce positive-slope response curves, whereas competitive assays commonly produce negative-slope curves.
Before troubleshooting, confirm:
The assay format
The expected curve direction
The expected wavelength
The sample dilution
The required controls
The assay’s validated range
ELISA troubleshooting decision table
| Observed problem | Most likely causes | First corrective action |
|---|---|---|
| High background | Incomplete washing, excessive conjugate, contamination, poor blocking | Review washing and reagent dilutions |
| Weak signal | Incorrect preparation, inactive reagent, insufficient incubation, low analyte | Check standards, controls and reader settings |
| No signal | Missing reagent, inactive enzyme, wrong wavelength, incorrect sequence | Reconstruct the workflow step by step |
| Excessive signal | Overdeveloped substrate, concentrated conjugate, insufficient washing | Reduce development time and verify dilutions |
| Poor standard curve | Dilution error, poor mixing, degraded standard, wrong curve model | Prepare a fresh standard series |
| High replicate CV | Pipetting error, bubbles, inconsistent timing, well drying | Repeat using controlled pipetting and timing |
| Edge effects | Evaporation, temperature gradients, incomplete sealing | Seal the plate and stabilize temperature |
| Plate drift | Slow dispensing, inconsistent incubation time | Use a multichannel pipette or timed workflow |
| Low recovery | Matrix interference, incorrect spike preparation | Perform a dilution and spike-recovery study |
| Poor parallelism | Matrix effect or antibody-binding interference | Test additional sample dilutions |
| Samples above range | Insufficient sample dilution | Dilute and rerun |
| Samples below range | Low abundance, degradation or unsuitable kit sensitivity | Concentrate carefully or select a more sensitive kit |
| Unexpected low result | Hook effect, sample degradation or matrix inhibition | Test serial sample dilutions |
| Unexpected positive result | Cross-reactivity, contamination or nonspecific binding | Retest with controls and an orthogonal method |
1. High background in ELISA
What does high ELISA background look like?
High background occurs when blank, negative-control or low-concentration wells develop more signal than expected.
Typical signs include:
Dark blank wells
Elevated optical-density readings across the plate
Poor separation between negative and positive samples
A compressed assay range
Apparently positive low-concentration samples
Increased variability between replicates
High background can conceal weak true-positive signals and reduce the usable dynamic range of the assay.
Common causes of high background
Incomplete plate washing
Residual unbound enzyme conjugate is one of the most common causes of elevated background.
Check whether:
The correct number of washes was performed
Every well was filled adequately
Wash buffer remained in the wells long enough
Residual liquid was removed after the final wash
Washer needles were correctly aligned
Wells were allowed to dry between steps
After the final wash, invert the plate and tap it carefully against clean absorbent material when permitted by the kit protocol.
Do not strike the plate hard enough to damage or contaminate the wells.
Incorrect wash-buffer preparation
A concentrated wash buffer must be diluted accurately.
Errors include:
Using a 10× or 20× buffer without dilution
Adding the wrong volume of water
Using contaminated laboratory water
Failing to dissolve precipitated salts
Omitting detergent when it is required
Using a different detergent concentration from the protocol
Bring concentrated buffer to the recommended temperature and mix until any permitted precipitate has dissolved.
Excessive detection antibody or enzyme conjugate
An overly concentrated detection reagent can increase nonspecific signal.
Verify:
Dilution calculations
Pipette settings
Reagent labels
Diluent identity
Preparation volume
Whether the dilution was prepared fresh
For a commercial kit, do not independently change the conjugate concentration unless the manufacturer recommends optimization.
Insufficient or unsuitable blocking
Blocking reduces nonspecific adsorption to unoccupied plate surfaces.
Background may increase when:
Blocking time is too short
The blocker concentration is inappropriate
The blocking reagent is incompatible with the antibody system
The plate dries after blocking
A custom assay has not been optimized
A blocker that works for one antibody pair may not work for another. Milk proteins, casein, bovine serum albumin and synthetic blockers can interact differently with assay antibodies and samples.
Substrate contamination
Horseradish peroxidase substrates can react prematurely after contamination with enzyme, metals or oxidizing substances.
Use:
Clean reagent reservoirs
Fresh pipette tips
Separate containers for substrate
A new plate sealer for each step
Substrate that has not changed colour before use
Never return unused substrate to its original container.
Excessive substrate-development time
Allowing the plate to develop too long increases both specific and nonspecific colour.
Stop the reaction at the time specified by the protocol. Process all wells consistently so the first and last wells do not experience substantially different development times.
How to fix high background
Prepare fresh wash buffer.
Confirm the wash-buffer dilution.
Increase washing only when compatible with the kit instructions.
Remove residual wash solution completely.
Verify conjugate dilution.
use fresh substrate and uncontaminated reservoirs.
Keep wells from drying.
Follow the specified incubation temperatures and times.
Include a reagent blank and negative control.
Change only one variable during each troubleshooting experiment.